Your vehicle’s paint is an investment worth protecting with paint protective film. PPF shields your car from rock chips, road debris, UV rays, and everyday wear. However, installing PPF is only the first step. It needs the right care to keep it looking clear, smooth, and effective for years.
In this guide, we’ll break down how to care for your film after installation, the best products to use, what mistakes to avoid, and how to deal with minor damage, so your vehicle stays protected and showroom-worthy mile after mile.
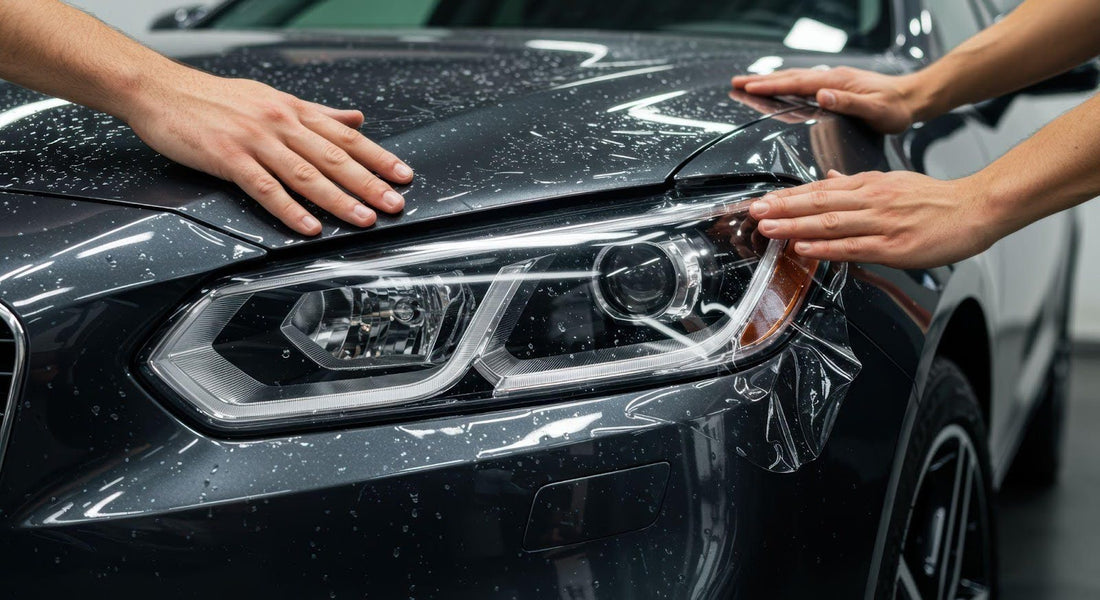
The first seven days after installation
The first week after installing paint protective film is critical to ensuring a strong, long-lasting bond between the film and your vehicle’s surface.
During this curing period, the adhesive beneath the film is still settling and adjusting to the contours of your paint. Proper care during these early days helps prevent lifting, bubbling, and long-term imperfections.
Here’s how to treat your PPF during that first week:
1. Don’t wash your car
Avoid washing your vehicle — whether by hand or at a car wash — for at least seven full days. Introducing water or soap too soon may interfere with the adhesive and cause premature edge lifting or water pockets that get trapped under the film.
2. Keep it dry
Don’t worry if it rains, but try to avoid spraying the car directly with a hose or pressure washer. Moisture during the curing phase can slow down the adhesion process and weaken the film’s grip in problem areas like corners, creases, or panel gaps.
3. Stay away from waxes or sealants
Don’t apply any wax, polish, ceramic spray, or paint sealant during the first week. These products could interfere with how the film settles or cause hazing. Wait until the film has had time to fully cure before using any detailing products.
4. Don’t touch or press air bubbles
It’s normal to see small bubbles, haze, or water pockets under the film within the first few days. These often disappear on their own as the film cures and moisture evaporates. Trying to press them out manually could damage the film or stretch it.
5. Avoid high pressure or extreme heat
Skip pressure washing, aggressive drying methods, or parking in intense direct sunlight during peak hours. If you can, park indoors or in a shaded area to help the adhesive cure more evenly.
Treating your paint protective film with a little patience during the first seven days sets the foundation for long-term performance. Once fully cured, the film will deliver maximum clarity, adhesion, and protection, keeping your vehicle looking sharp for years to come.

Proper washing techniques
Once your paint protective film has fully cured, you can return to a regular washing routine. But properly maintaining your paint protective film means cleaning it the right way.
The wrong techniques or products may dull the finish, weaken the film’s surface, or cause edge lifting over time. Here's how to wash your car safely:
1. Wash regularly but gently
Aim to wash your vehicle every one to two weeks or whenever it accumulates dirt, bug splatter, or road grime. Regular washing prevents buildup that may degrade the film’s top coat or stain the surface if left for too long.
Avoid letting dirt bake onto the film in the sun, and rinse off heavy debris (like mud or salt) before touching the surface.
2. Use the two-bucket method
The safest way to hand wash a car with PPF is the two-bucket method — one bucket for soapy water and one for clean rinse water. We recommend using a pH-balanced, PPF-safe car shampoo.
That means no dish soap or degreasers. Wash from the top down using a soft microfiber wash mitt, and rinse your mitt frequently in the clean bucket to avoid rubbing grit into the film.
3. Avoid harsh tools
Stay away from brushes, abrasive pads, or anything with stiff bristles. These can create micro-scratches or wear down the film’s self-healing layer. Stick with microfiber mitts and towels, and use foam cannons or pre-soak sprays to loosen dirt before wiping.
4. Rinse thoroughly and dry with care
After washing, rinse all soap residue completely. Residue leaves streaks, reduces the film’s hydrophobic properties, and attracts dust.
Dry with a clean, plush microfiber towel or a touchless blower to avoid swirl marks. Dab rather than drag if using towels on delicate areas or near film edges.
5. Be mindful around film edges
When washing or drying, take extra care around the edges of the paint protection film wrap. Aggressive scrubbing or snagging a towel may cause the edges to lift or curl.
Instead, use light pressure and pat-dry motions along edges. If you’re using a pressure washer, maintain a safe distance (at least 12–18 inches) and avoid spraying directly at the seams or edges.
Safe products to use on PPF
You need the right products to keep your PPF looking clear, glossy, and effective. While the film itself is tough, using products specifically designed for urethane surfaces will preserve its clarity, hydrophobic properties, and self-healing capabilities. Here's what to look for when it comes to safe detailing.
1. pH-balanced car shampoos
Always use a pH-neutral car wash soap. These are gentle on both paint and PPF, removing dirt without degrading the film’s surface or weakening the adhesive.
2. PPF-safe quick detail sprays
Use water-based or polymer-based detail sprays to remove light dust or enhance shine between washes. These won’t leave a buildup or cloud the surface. Look for sprays labeled “safe for paint protection film,” “vinyl-safe,” or “clear bra compatible.”
3. Sealants and ceramic coatings made for PPF
Want to level up your protection? Choose a ceramic coating specifically designed for use over paint protection film wrap. These coatings bond to the film’s top layer, boosting water repellency and making it easier to clean.
4. Bug and tar removers formulated for film
Bug splatter and road tar can stain or damage unprotected film. To clean these areas gently, use only PPF-safe spot removers. You’ll spray it on, let it sit, and wipe it with a microfiber cloth without needing to scrub.
5. Microfiber tools only
Use soft, clean microfiber towels and mitts for washing and drying. They reduce the risk of scratching and help maintain the film’s glossy appearance.
Tip: Keep separate microfiber cloths for washing, drying, and detailing to avoid cross-contamination.

Handling stains, bug splatter, or bird droppings
Contaminants like bug splatter, bird droppings, and tree sap might seem harmless at first, but they’re some of the most damaging substances your paint protective film will face. Their acids and enzymes have the potential to eat into the surface, stain the film, or weaken its top layer if left too long. The key is fast, gentle removal.
1. Act quickly
The longer a stain sits, the harder it is to remove. Aim to clean bird droppings, dead bugs, and tree sap as soon as possible, especially in hot weather where they dry out and bake into the paint protective film wrap.
2. Use warm water and a soft cloth
Start simple. Soak a clean microfiber towel in warm (not hot) water, lay it over the spot, and let it sit for a few minutes to soften the material. You’ll want to avoid scrubbing or scraping; gently lift the towel and blot the area. If the stain is stubborn, repeat the steps.
3. Use a PPF-safe bug or spot remover
For tougher contaminants, use a film-safe bug and tar remover. These products break down residue without harming the urethane surface. You’ll want to spray the remover directly on the affected area and let it sit for 30–60 seconds. Then, wipe gently with a clean microfiber cloth, and rinse the area afterward to remove any leftover product.
4. Never pick, scratch, or scrape
Trying to pick off dried droppings or bug remains can cause micro-tears or pull at the edges of your film. Always let the cleaner do the work for you.
5. Finish with a detail spray or sealant (optional)
After cleaning, a quick mist of PPF-safe detail spray can restore shine and help protect the surface from future buildup.
Dealing with minor damage or discoloration
Even the best PPF can experience minor issues over time — things like surface scuffs, small bubbles, or light discoloration. While these may look concerning, many are fixable or completely normal. Here’s how to assess and handle minor PPF damage before it becomes a bigger problem.
1. Surface-level swirl marks or scuffs
Most modern PPF includes a self-healing top coat that helps eliminate light scratches and swirl marks. These minor imperfections often disappear with time or when exposed to moderate heat.
To fix this, park the vehicle in direct sunlight for a few hours or gently apply warm air (using a heat gun or hairdryer at a safe distance). Avoid rubbing or polishing aggressively, as this could damage the film instead of fixing it.
2. Small bubbles or lifting edges
Tiny bubbles or edge lift sometimes appear from moisture, improper washing, or contamination. If this has recently occurred, leave the bubbles alone for a few days to see if they go away on their own.
But if they don’t, have your installer inspect and re-seal the area. Don’t press or poke bubbles, as that can spread the issue.
3. Yellowing or cloudiness
Discoloration happens with older or lower-quality films, especially if they’ve been exposed to harsh sunlight for years without UV protection.
If your film has started to yellow or develop a cloudy appearance that won’t wash off, it’s likely time to replace it.
Use a high-quality paint protective film wrap and apply PPF-safe ceramic coatings to extend clarity and resistance.
4. Small tears or nicks
Minor chips or cuts from road debris may occur, especially on lower panels or bumper edges. If the damage is localized, it might not require complete replacement.
Avoid trying to trim or patch the film yourself unless you’re experienced. A professional can assess whether you need to replace the damaged section or remove the full panel.
5. When to replace the film
If damage becomes widespread — like peeling, cracking, deep yellowing, or severe hazing — it’s time for a full replacement. PPF is a long-term solution, but like any protective layer, it has a lifespan. Replacing worn film restores both the appearance and protection of your vehicle.
Keep your vehicle protected with MotoShield Pro
Paint protection starts with premium film and lasts with proper care. MotoShield Pro offers high-quality paint protective film designed to shield your vehicle from chips, scratches, and harmful UV rays without sacrificing clarity or style.
Whether you’re driving every day or storing a showpiece, our advanced PPF helps preserve your paint and your vehicle’s value.
Already installed the film? Follow the tips in this blog to maintain your paint protection film.
Explore MotoShield Pro’s paint protection solutions today and give your vehicle the durable defense it deserves.