Tinted windows do more than make your car look sleek. They reduce glare, protect your interior from UV damage, and help keep the heat out.
But none of that matters if the tint goes on crooked, if bubbles form, or if it starts peeling after a week. Whether you're using a professional installer or going the DIY route, knowing what not to do is as important as knowing what to do.
If you're using precut ceramic window tint, you're already a step ahead because precision makes a big difference. Still, incorrectly installing a product will lead to its failure.
So, let’s avoid these common mistakes and get the crisp, flawless finish you want!
1. Skipping the prep work
We don’t recommend applying window tint on a dirty surface. Dust, lint, oil, and fingerprints will trap air, create bubbles, and weaken the adhesive. It’s important to prep every window before opening your precut window tint kit.
Clean both the inside and outside of the glass. Use a lint-free microfiber cloth and an ammonia-free cleaner or isopropyl alcohol. A clay bar can help remove invisible contaminants. It might feel like extra effort, but it’s the only way to get a clean bond and long-lasting results.
2. Installing in the wrong environment
Dust is everywhere, so trying to install window tint in direct sunlight, wind, or extreme temperatures can ruin your work.
The best conditions are indoors, in a closed garage with mild temperatures — ideally between 70°F and 85°F. Try to stay out of humid areas or breezy spaces where debris and static charge may attract particles to your freshly cleaned glass. Lighting matters, too, so you can see any bubbles that may form.
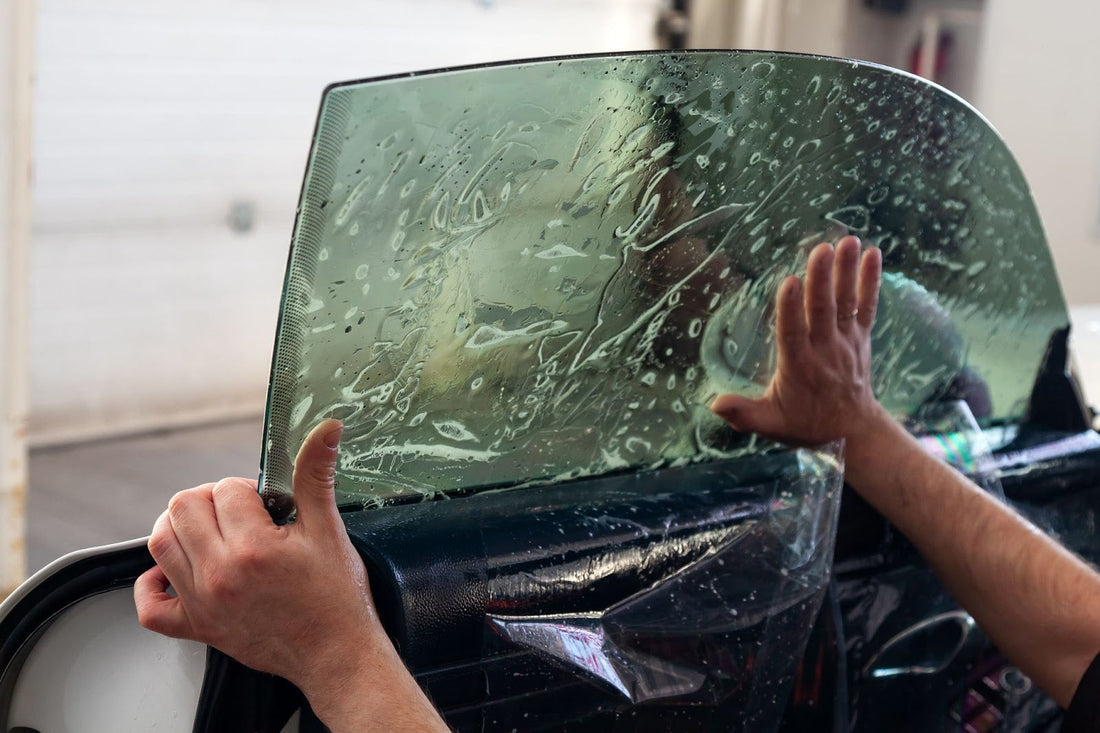
3. Mishandling the tint film
Precut window tint is laser-measured and engineered to fit your vehicle exactly. That level of precision calls for careful handling. Avoid creasing the film, stretching it, or touching the adhesive side with your fingers, as this can all ruin the material before you’ve even applied it.
Use both hands when peeling back the liner, and go slowly. It helps to have a second person assist with large sections, like rear windows. Keep the adhesive side facing up until you're ready to position the tint.
4. Using the wrong amount of slip solution
Slip solution allows the tint film to be moved into place after it's applied to the glass. If you use too little, the film will stick before it’s fully aligned. But if you use too much, the adhesive will weaken or take forever to dry.
Mix clean water with a few drops of baby shampoo or a professional tint solution. Generously mist — but don’t soak — both the adhesive side of the film and the window surface. Once the film is on the glass, you’ll still need room to slide it into position before squeegeeing out the excess.

5. Misaligning the film
Even if you’re using a precut ceramic window tint designed to match your car’s dimensions, it’s easy to place it wrong. Small misalignments will be obvious after everything dries.
Before removing the liner, hold the tint against the window and check the fit. Use the top edge or factory cutouts as a guide. Start with the easiest windows — usually the rear side windows — and work your way to the more complex ones.
6. Rushing the squeegee process
Patience is key. The squeegee step removes all air and moisture between the glass and tint. If you go too fast or apply uneven pressure, you’ll leave behind air bubbles or streaks of trapped water.
Use overlapping strokes starting from the center and working outward. Make sure your squeegee is clean and designed for window film. Cheap plastic ones can leave scratches or skip spots.
7. Cutting or trimming your precut tint
This one’s big. If you bought a precut window tint kit, don’t try to trim or cut the pieces unless absolutely necessary. They fit edge to edge, and cutting risks damaging your tint or even scratching your car’s glass or trim.
8. Ignoring cure time and post-install care
Your job’s not done the second the tint goes on. The adhesive needs time to cure and bond to the glass. If you roll your windows down too soon, the film might peel, shift, or bubble at the edges.
Wait at least 48 to 72 hours before operating windows. If it’s colder or more humid, wait longer. Avoid using harsh cleaners during the first week. A soft microfiber towel and plain water are all you need at first.

9. Picking the wrong shade or film type
Choosing the wrong tint shade can lead to real legal trouble. Every state sets its own rules for window tint, specifically around how much visible light has to pass through your windows. Fines, failed inspections, and having to remove the film altogether are some of the consequences of having tint that’s too dark.
Look up your state’s VLT (Visible Light Transmission) limits for each window: front side, rear side, rear windshield, and front windshield. Many states allow different percentages for front and back windows, and some allow only a top strip on the windshield.
10. Not reading the instructions
This may seem obvious, but it's one of the most common mistakes. Every precut window tint kit might include different tools, steps, or curing times. It all depends on the brand. Don’t assume the process is the same across the board.
Tint smarter with MotoShield Pro
Don’t let common mistakes ruin your tint job. Whether you're a first-time DIYer or a seasoned pro, MotoShield Pro takes the guesswork out of the process with high-quality, precision-cut kits designed to fit your exact make and model. Our precut window tint kits give you the edge, eliminating the need for cutting, trimming, or risky trial and error.
Looking for more than a sleek appearance? Our precut ceramic window tint options offer advanced heat rejection, superior UV protection, and unbeatable clarity. We back every offer with innovative design, expert support, and a commitment to helping you get it done right the first time.
MotoShield Pro delivers long-lasting performance, professional-grade results, and unmatched convenience — all from the comfort of your own garage.